Basic Makeup Tips And Tricks: 30 Absolute Need-To-Knows For Beginners
When you’re just getting started with makeup, selecting your products, tools, and brushes, not to mention figuring out the best application techniques, can seem like an insurmountable feat. But to counter this “Mount Everest of beauty”, I know that it can be especially helpful for makeup beginners to have a few tricks, tips, and hacks up their sleeve.
Now, granted, there is a lot of misinformation out there. And often, advice is given by people who haven’t professionally trained in makeup artistry. This can, of course, lead to even more confusion for any makeup lovin’ gal.
But with the right knowledge, you can undoubtedly set yourself up for makeup and overall beauty success! And my goal is to fuel you with the right (accurate) information based on things I’ve learned over the years as a makeup artist.
Makeup Artist Approved Tips, Tricks, & Hacks Every Beginner Should Know
Ok, let’s simplify things a bit…block out the youtube & Instagram makeup noise and get down to some basics, ladies. Let’s run down a few of my favorite need-to-know makeup tips, tricks, & hacks for every makeup beginner and even for a few of your experienced makeup wearers!
30 Essential Makeup Tips, Tricks & Hacks
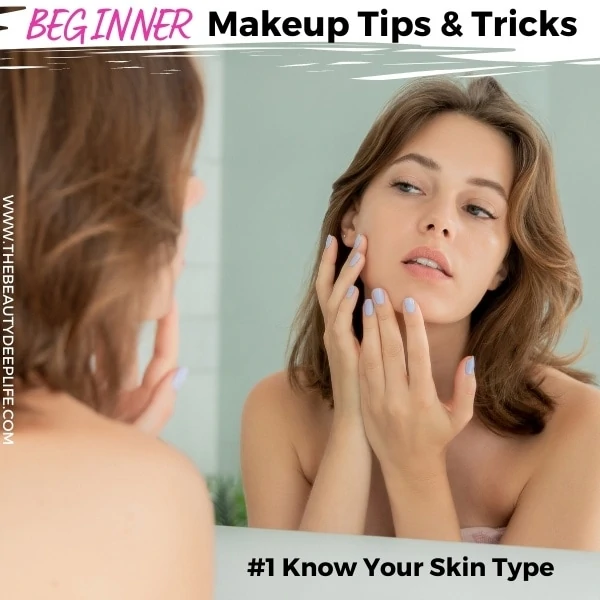
1: Know Your Skin Type
For makeup that looks flawless, lasts all day, sits well upon the skin, and doesn’t cause blemishes becoming familiar with your skin type is necessary. You see, makeup products come in different formulas (creams, liquids, powders, etc.). And these formulas dictate which option will be more suitable for you and your skin.
So, before you purchase anything to add to your makeup kit, bag, or collection, understanding your skin needs to be your #1 goal. This way, you avoid wasting money on the wrong things and can pick things that are RIGHT for you, ultimately helping you look your absolute best! It’s especially important to know your type when selecting your primer, foundation, and concealer.
Now, I usually suggest powder blush for beginners, but if you want more blush formula makeup tips and tricks based on skin types, click here!
2: Take Care Of Your Skin
The better you maintain your skin, the more even & smooth you can expect your makeup application. Since your skincare products are technically the base for your makeup, they play a major part in how your makeup sits and holds up. So always use products created with your particular skin type, concerns, and needs in mind. For more skincare tips…
3: When It Comes To Eyeliner, Always Begin With Your Wonky, More Difficult Eye
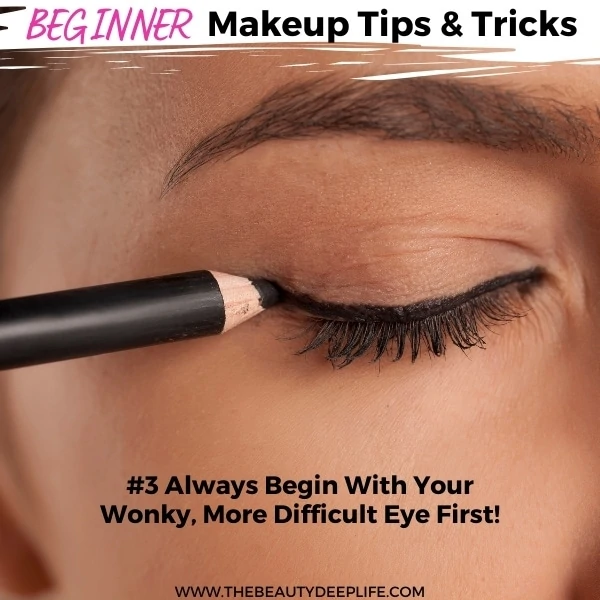
Generally, most of us gals have one eye that’s a bit more difficult than the other. Haha…Well, for me, it happens to be my right eye. My left is easy-peasy….but my right geeezzzz.
Something about the brow bone and socket structure makes doing any kind of winged look or cat-eye so incredibly frustrating. So, I always start with that eye. It’s far easier to get them symmetrical & matching if you begin with the more complicated eye.
If you’ve ever made the mistake of starting with your easier eye, I’m sure you know how time-consuming it can be to try and get that other rather tricky eye to match it….right??
4: Get Familiar With The “Stippling” Technique
Stippling is where you lightly tap and pat your makeup product onto your face and into your skin with your brush or a sponge. This is an excellent technique for both application and blending foundation.
5: Watch The Direction Of Your Eye Makeup Blending
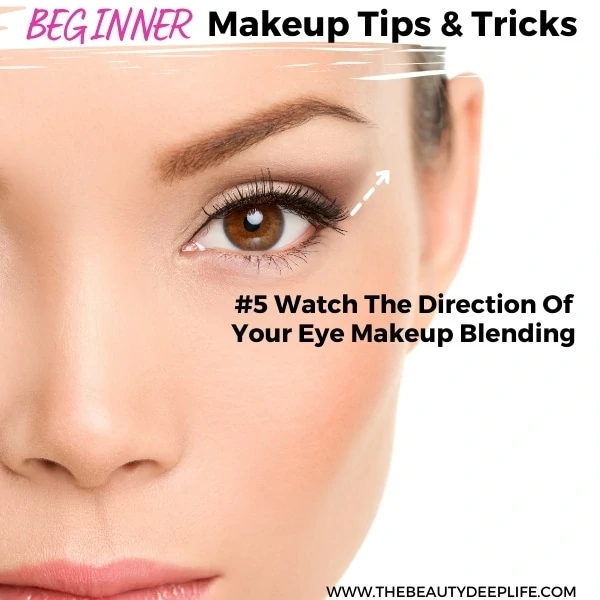
When blending your eyeshadow, think upwards and outwards (never downward). Blending in this fashion creates a very flattering effect for every gal, lifting the eyes.
6: Stay Aware Of Your Product Layering
Do not layer liquid and cream makeup products over your powders. The general rule of thumb is to apply creams and liquids before applying powder products to avoid makeup becoming cakey.
7: Warm Up That Dry Mascara
Mascara has a tendency to clump up and dry out with time. Take a cup and fill it with warm water. Then place your mascara tube inside and let it sit for a few minutes while applying your other makeup products. The water’s warmth should soften things up a bit so you can more easily use it for your lashes.
Of course, if you notice dryness because your mascara has expired, then toss that bad boy!! Generally, mascara will last 3-6 months before expiring.
Related: How To Apply Mascara Properly: 23 Insider Tips & Tricks
8: Embrace Loose Translucent Powder
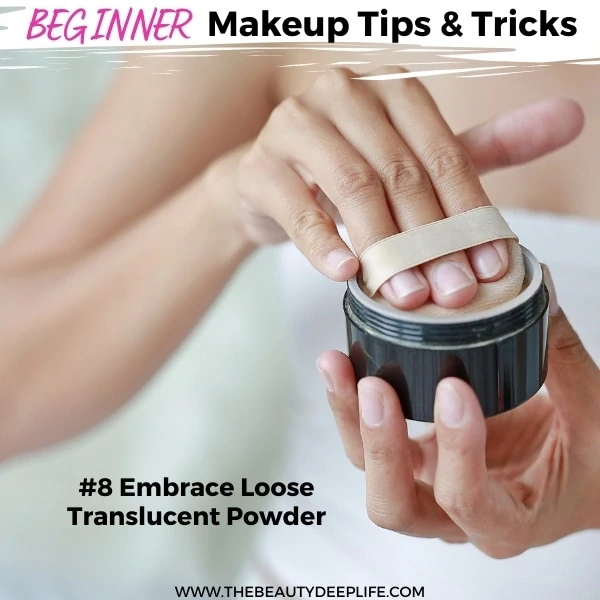
The best way to set your makeup is to use loose translucent powder. The beauty in this type of powder is that it can be universally more flattering, is less likely to appear heavy, and won’t change the color or tone of your already applied makeup.
9: Concealer Can Be A Multipurpose Asset In Your Makeup Collection
You likely are pretty familiar with using a concealer to hide imperfections, but it can actually be used for various things.
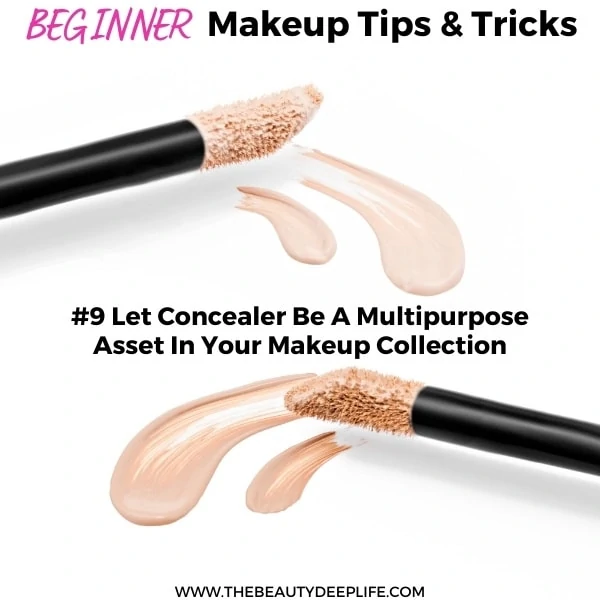
- Concealer can be a magic eraser for your eyeliner makeup mistakes and help you create a cleaner, crisper flick at the end.
- You can also use it to emphasize your brows and mask the fact that you are due for a brow waxing.
- It can be used as a highlighter when you start learning to contour. Keep in mind as a beginner, it’s easier to begin contouring with powder products over creams, but as your skills progress, you may want to give this a try!
- It can use to create an instant brow lift, eye lift, and overall facelift!
Related: How To Use Concealer The Right Ways: Game-Changing Tricks & Expert Makeup Tips
10: Analyze Your Eyes For Shape, Size, Direction, Location & More!
From eyeliner to eyeshadow, there are quite a few makeup tricks, tips, & techniques for different types of eyes—all with the sole purpose of enhancing them in the most flattering and complementary ways.
First, as a beginner, you should focus on mastering the basics of eyeliner and eyeshadow application. But once you are ready to move one and begin more experimenting with eye makeup, knowing their shape, size, direction, how they sit, and their proximity to each other will certainly come in handy…
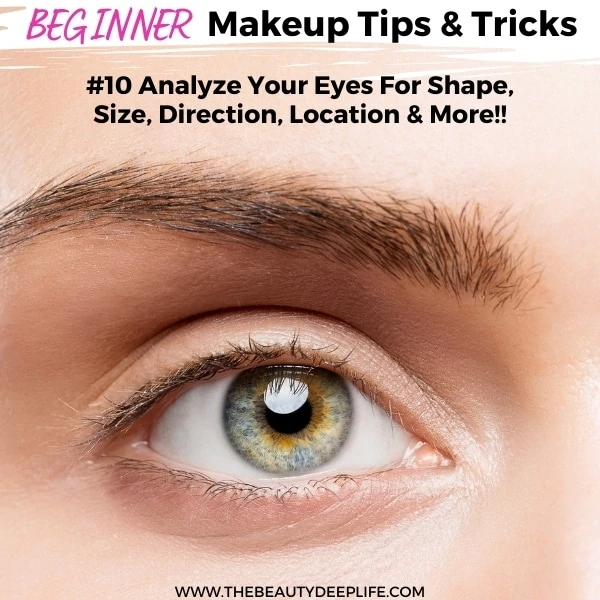
Are your eyes close-set, wide-set, or deep-set? Perhaps they are upturned or downturned? Do you have almond eyes? Are they hooded, monolid, round, large, or small? Grab a mirror so you can figure out using these next descriptions. Keep in mind you may not fall into just one group and may have a combo.
Eye Shapes, Sizes, Direction, Location & More!!
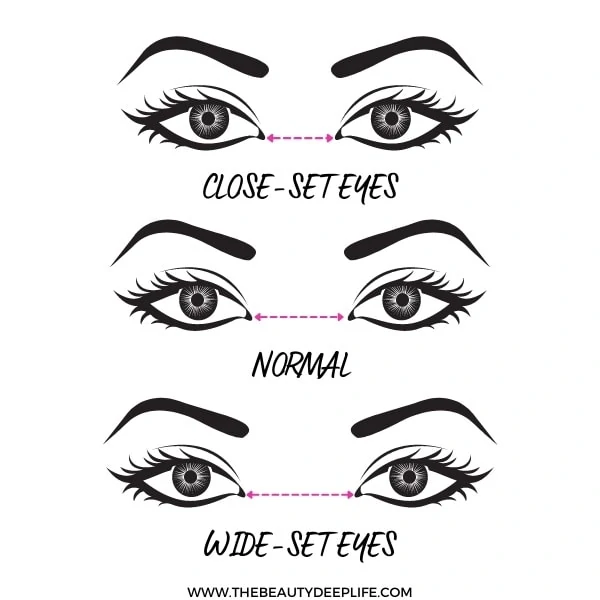
- Close-Set: There is less space between the inner corners of your eyes. Think…Sarah Jessica Parker, Jennifer Aniston, or Miley Cyrus…
- Wide-Set: There is much more space between the inner corners. Think Kate Moss or Brandy Norwood…
Need More Makeup Tips & Tricks For Determining Close-Set Vs. Wide-Set Eyes? Check out Tip #3 from 30 Exceptional Beauty Tips for Eyebrows!!
- Almond: Almond eyes have a tapered shape on each side like an almond. They are usually a tiny bit pointed at the ends, and the whites of the eye below and above your iris are not visible. The iris sits snug in between your upper and lower lids without much visible white of the eye except for on the sides of the iris. Examples- Beyonce, Rihanna, or Angelina Jolie
- Round: The white of the eyes is visible under or above the iris. Ashley Olsen and Katy Perry have round-shaped eyes.
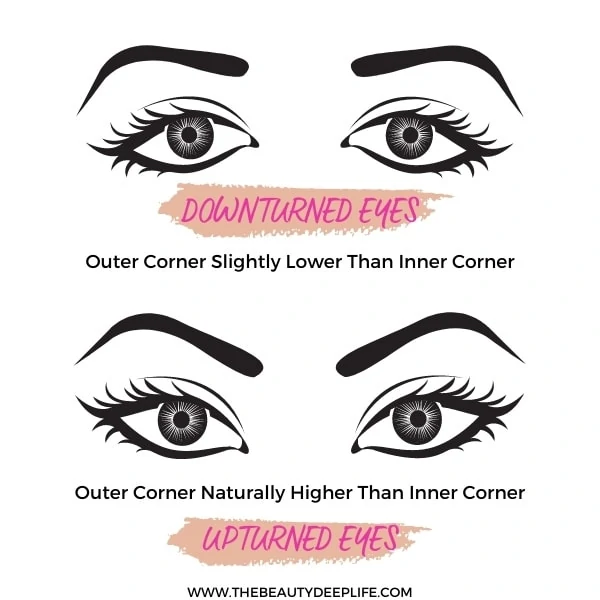
- Downturned: The outer corners of the eye are lower than the inner corners. Think…Katie Holmes or Marilyn Monroe.
- Upturned: The outer corners are higher than the inner corners of the eye.
- Deep-Set: With deep-set eyes, the eye will sit a bit further back in the socket, behind a rather prominent brow bone.
- Hooded Eyes: Rather than there being an indentation at the crease, the skin folds or puffs a bit over, making the eyelids less visible. Also, the brow bone appears heavy. Celebrities like Blake Lively and Jennifer Lawrence have perfect examples of hooded eyes.
- Monolid: There is no visible crease for monolid eyes, and the lids appear flat.
Related: The 8 Best Eyeliners For Hooded Eyes, Makeup Artists Swear By
- Large Vs. Small: Determining if your eyes are large, small, or considered average should be done by looking at your full face. Comparing your eyes in proportion to your other features on your face like the nose and mouth should give you an idea.
Related: Best Eyeshadow Tips For Small, Large, Deep-Set, Wide-Set, & Close-Set Eyes
11: Prep Your Pout Before Applying Lipstick
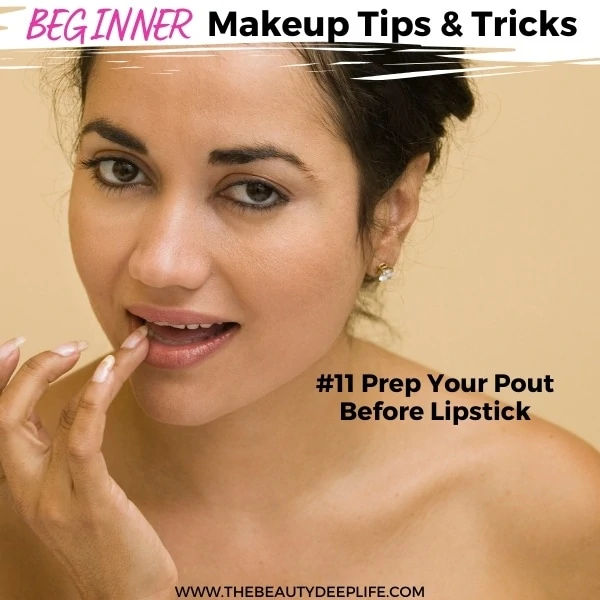
You should aim to use something moisturizing like chapstick on your lips before applying your lip makeup products. And if needed, consider gently exfoliating your lips before as well. You can use a toothbrush for this if you’d like.
PRO Tip: Dark lipstick colors will make your lips look thinner & smaller. Lighter colors will create a fuller pout.
12: Don’t Skip That Lip Liner When Using Lipstick
Lining your lips with a lip liner can give your lips so much more definition. Not to mention it’s your best bet against bleeding and feathering lipstick outside of your lips. Generally, beginners should opt for a shade that is the same as their lipstick color; however, if you want to experiment with a bit of lip contouring or try an ombre look, you can certainly try a darker shade.
13: Fake It Til You Make It…Stencil Or Straight Edge Your Way To A Perfect Liner Look!
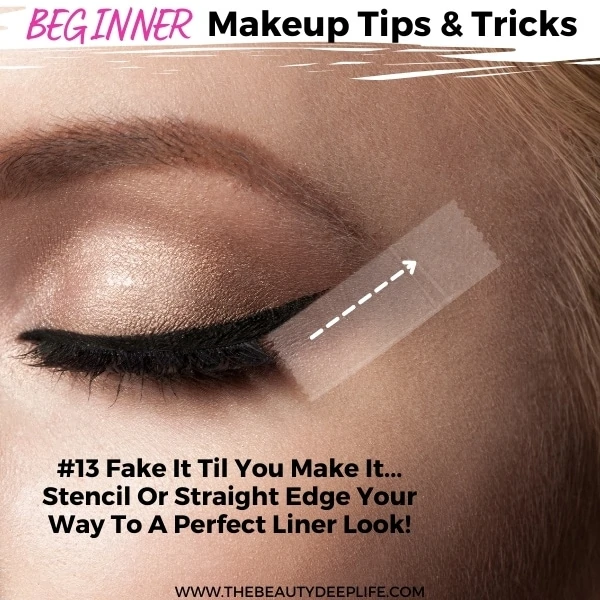
If you struggle with a winged liner look, an easy way to get a crisper, straighter line is to use some scotch tape, a business card, or even the straight side of a wedged sponge. Take whichever item you choose and line it up at the outer corner of your eye. Depending on the look you are going for, you can either place the tape directly at the outer corner or slightly under your bottom lashes.
If you place it directly at the outermost corner (see photo above), line it at an angle going up towards the tail of your brow. However, if you place it slightly under your lower eyelashes, try angling it toward your temple. Take your eyeliner and draw it in, going right up tight next to that straight edge.
14: Get Familiar With Makeup Brushes So You Choose The Right Ones
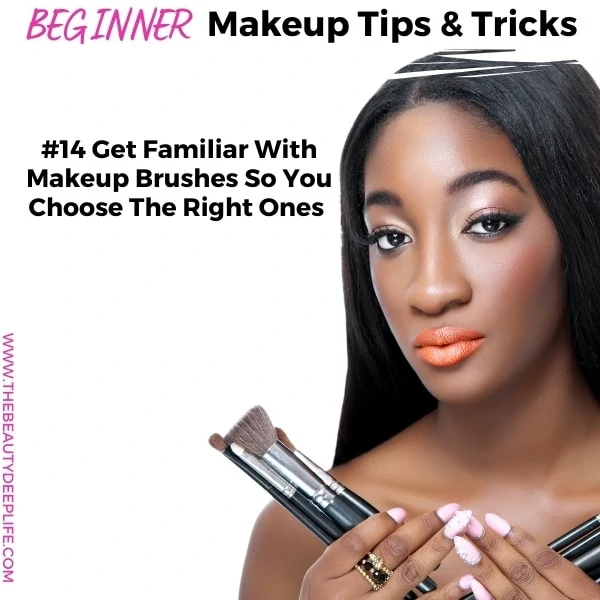
No matter how incredible your makeup products are, they won’t do you any good if you’re using the wrong tools. Brushes make application easier, improve the finish of your makeup, and ensure a far more natural yet polished look at the same time.
Overall, the results you get after application have a lot to do with what you’re using to apply your products. So, first, avoid the eyeshadow sponge applicators and mini blush brushes that are sometimes included in drugstore kits.
And second, if your goal is to get a professional-like makeup finish, you’ll want to get more formally acquainted with different makeup brushes. You see, it’s important to understand the purpose of each type of brush, which products each type is more suited for, and the effect they each can have on your final makeup look. That’s why it’s a core concept and makeup strategy in The Ultimate Makeup Guide (Bundle) For Beginners.
15: Invest In A Magnifying Mirror
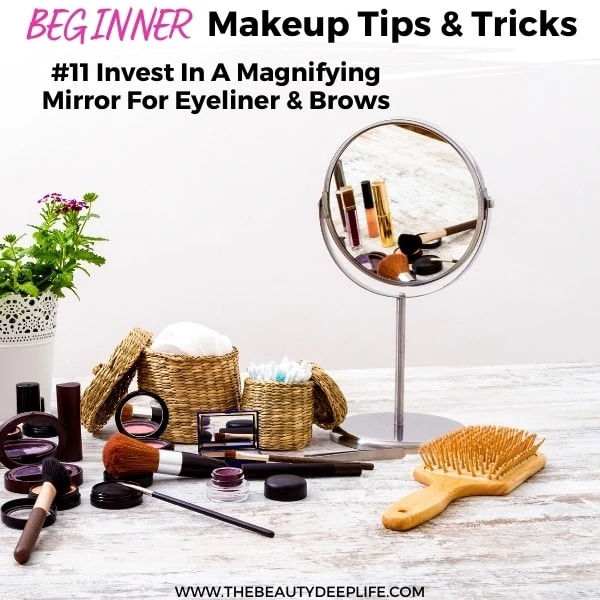
When it comes to eyeliner application to get the best results, I highly recommend using a lighted vanity magnifying mirror. You can use it to get very close to the lash line, so you don’t end up with any little gaps. And it will help tremendously for a more precise application process and make applying your eyeliner far easier. You can quickly fix any mistakes and avoid walking out the door with a wonky, unsymmetrical liner!
16: Try A Twirl Motion Rather Than A Pump With Your Mascara
With mascara, rather than pumping the tube before application, try twirling the wand around the inside. This will prevent air from entering the tube, which can dry your product out quicker.
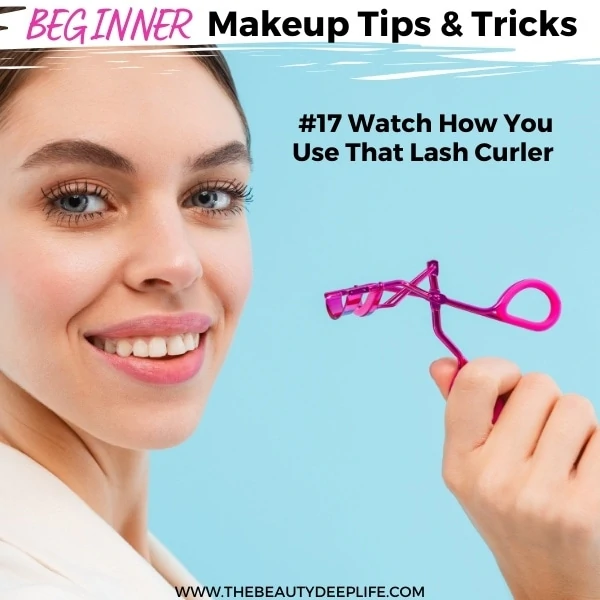
17: Watch How You Use That Lash Curler
Never clamp down tightly and hold, as this will create a funky crimp rather than a nice lifted curl to your eyelashes. I like to gently sort of do a few pumps with my lash curler, and if I do hold it, I make sure it’s very lightly done and not for very long (3-5 seconds max).
18: Wow With Your Brows!!
Your face is never truly dressed without those brows….for all you who grew up watching little orphan Annie? But seriously, your makeup look isn’t quite polished and won’t look entirely done without your brows!! The eyebrows frame your face and can truly change the way you look in an instant!
Before applying your makeup, always prep your brows. You want to clean them up, brush through, & smooth them down. Then save filling them in for later in your makeup routine after you’ve applied some of your other products. Try to work with your natural brow shape as much as you can until you get them professionally shaped & arched.
Related: Check out these exceptional beauty tips for brows!!
19: Avoid Sharing Your Makeup Products
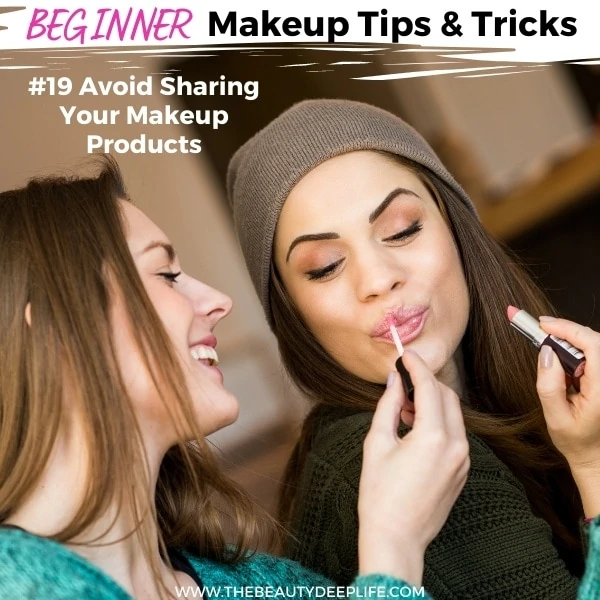
Sharing products with your roomie, BFF or sister may seem harmless, but it is pretty unsanitary, as it spreads bacteria and germs, which can contribute to infections. As for makeup artists, we can get around this due to the fact that we always sanitize our products and tools between people….our go-to for makeup products…99% alcohol!!
20: Makeup: Run Out Of Eyeliner?
A quick makeup trick for when your eyeliner is missing in action…use eyeshadow instead. Take an eyeliner brush (angled, straight, fine tip, whichever type you prefer) and dip it in a bit of water. If you are in a hurry, you can use the sink and hold just the tip of the bristles under the stream of water. Dip it into your powder eyeshadow, and then line your eyes as you usually do.
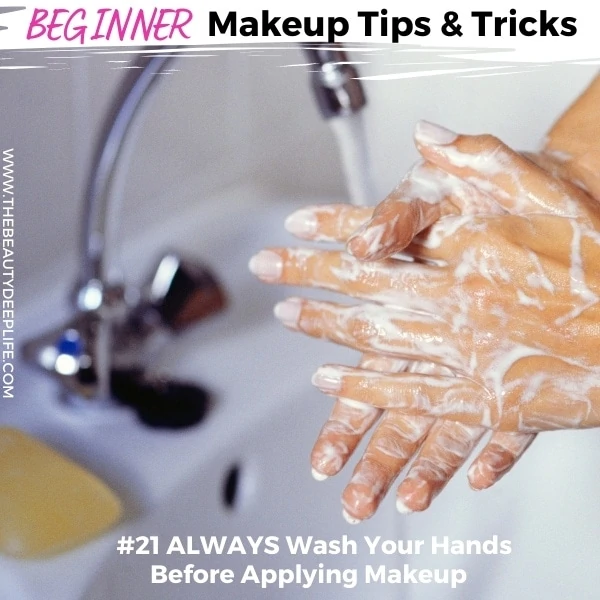
21: Wash Your Hands Before Applying Your Makeup
Our hands carry so many germs that you certainly don’t want on your face. So to avoid eye irritation and breakouts, scrub a dub-dub!!!
PRO Tip: Also, if you’re dipping your fingers into any makeup products, you’re contaminating them with dirty fingers and hands.
22: Get To Know The Shape Of Your Face
After someone has gotten better at basic beginner product applications, I always suggest they figure out their face shape. To play up your look and when you’re ready for more makeup experimenting, where you place your blush and contour products (shading & highlighting) will bear primarily on its shape.
Each shape has different bone structures, and knowing this will help you determine what you want to enhance or diminish. The most common face shapes are oval, round, diamond, heart, square, triangle, & long.
Related: How To Wear Makeup For A Round Face: A Quick & Simplified Guide
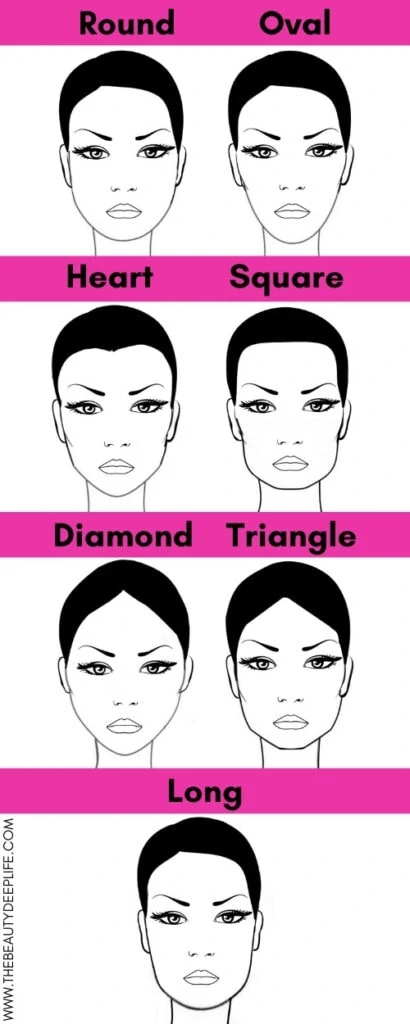
- Round: Soft, rounded appearance with no distinguishing angles or edges…full cheeks, rounded chin, and a non-defined jawline.
- Oval: Curved chin, with high cheekbones and a narrow forehead (it’s narrow, yet wider than the jawline). The length of the face will be greater than the width.
- Heart: Wide forehead, with its width greater than your cheekbones and jawline…face narrows as it tapers down to a pointy chin (resembling an upside-down triangle).
- Square: Forehead, cheekbones, and jawline are all of a similar width….prominent, sharp, angled jawline.
- Diamond: A pointy chin with high cheekbones that are the widest part of the face. The face may narrow, going from the cheekbones to the hairline.
- Triangle: Very prominent jawline, with the jaw being the widest part of the face. The face becomes narrow at your cheekbones and then even more so at your forehead.
- Long: Forehead, cheekbones, and jawline all have a similar width, with a rounded chin and jawline…The face is longer than it is wide.
23: Avoid Applying Dark Eyeliner To Both Full Lash Lines
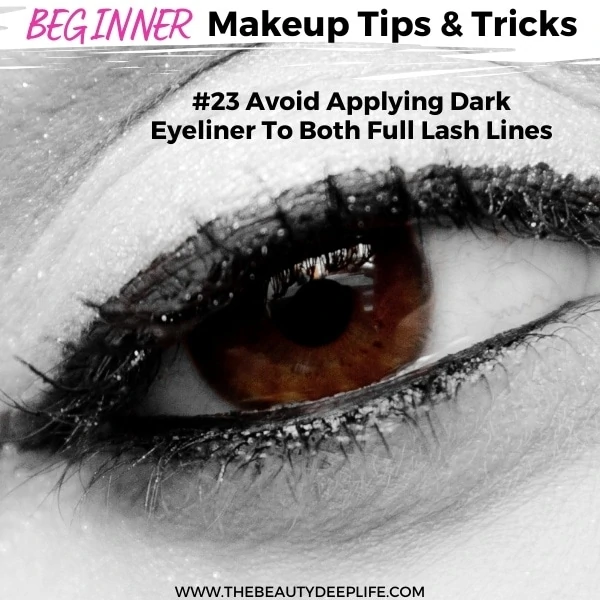
When using eyeliner, it is best not to fully apply dark eyeliner on both your upper and lower lash lines. Notice how this was done in the above photo?
Doing so will make your eyes look small. Generally, if you want to fully apply your eyeliner along the upper lash line (the entire upper lash line), a better option is to skip the lower lash line or line only the eye’s outer 3/4 (or 2/3) of the lower lash line.
24: Flaunt What Your Mama Gave Ya
One of the most flattering things you can do when it comes to your makeup is to figure out the best feature on your face and learn how to emphasize it!
Perhaps it’s the color of your eyes or their shape? Maybe you have full, perfectly pouty lips?
Of course, the double edge sword of this is that you may also want to take some time to figure out what you want to hide or change about your features. This way, you know which products you will need for that as well as what techniques you’ll want to try.
25: Good Lighting Is Key
When applying your makeup, it’s essential to do so in a room with good lighting. You want your face to be well-lit on both sides. Makeup can look very different depending on the lighting, so always keep this in mind before leaving the house. Soft natural light is always the best option, so if possible, try doing your makeup near a window.
26: Want Eyeliner With Smear-Proof Lasting Power?
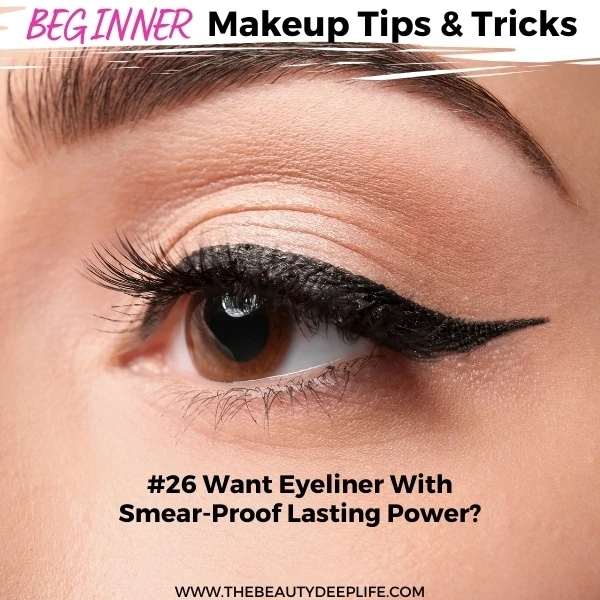
Suppose you worry about your eyeliner smearing, smudging, fading, or wiping away after using a pencil or liquid eyeliner. In that case, you can always try setting it with an eyeshadow that is the same color.
27: Always Remove Your Makeup Before Bed
It is important always to remove and wash off your makeup before heading to bed. Why?? Well, not washing your makeup off before catching some ZZZZ’s can age your skin up to 7x faster! Not to mention, it contributes to skin or eye irritation, along with acne.
Related: Find out why skipping a nightly skincare routine can be a HUGE mistake for your skin…
28: Clean Your Makeup Brushes & Dry Them On A Flat Surface
As far as our 30 tips & tricks are concerned, this one is beneficial for your makeup brushes and your skin. From avoiding skin problems & infections to improving your makeup products’ application and blending, clean brushes are a must! Cleaning them also prolongs their life.
After washing your brushes, don’t make the mistake of placing them vertically on a cup or container while they dry. As water makes its way down the brush, it can go into the ferrule; this can cause the glue that binds the handle and bristles together to loosen. You’re likely to experience more shedding when this happens!
PRO Tip: It’s best to lay them on a flat surface. I usually lay them on a clean towel on a tabletop.
Related: For More Tips On Cleaning Your Brushes…
29: Don’t Store Your Brushes & Makeup In Your Bathroom
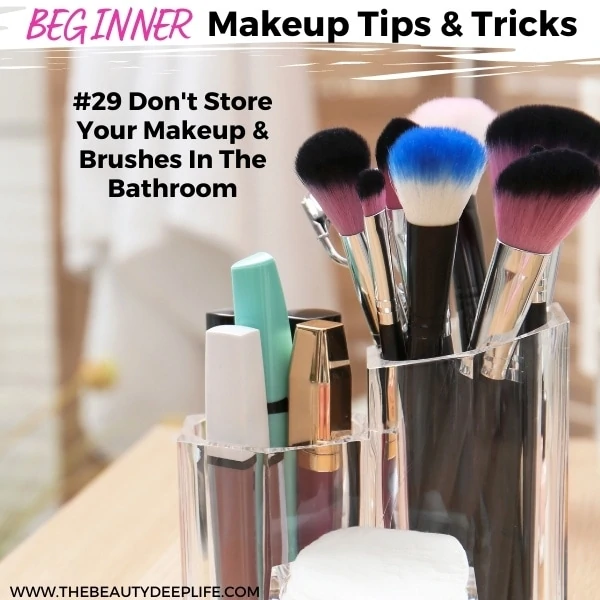
Your bathroom will generally have a great deal of humidity, promoting the growth of mold and bacteria. Ok, now for the really gross part… every time you flush the toilet, water and bacteria float out into the air, along with, yep, you guessed it, fecal matter… Yuck!! I think I just threw up in my mouth a little…
30: Have Fun & Experiment!!
Experiment with makeup from trying different products to colors, brushes, and tools…so you avoid getting stuck in a perpetual beauty rut! You may have a favorite everyday makeup routine and look, but you never know what you can do for your look if you don’t try something new.
Makeup can be an exciting adventure full of endless possibilities if you allow yourself to get out of your comfort zone.
Basic Makeup Tips, Tricks, & Hacks: The Wrap Up!!
Well, Beauties, that sums up my top 30!! Hope you enjoyed reading about some of my favorite makeup tips and tricks for beginners today!
I know there are many things covered in this list, and there’s a lot to learn when you are a makeup beginner… what to do, what not to do, what’s right for your skin & and what’s not, what to buy, what to use, where to use it, how to use it, what goes first, second, third, and so on…and so on…and so on…
I get it; I was once a beginner myself :). In fact, this is why I created my ebook, The Ultimate Makeup Beginners & Beyond Bundle, to help every makeup beginner understand all of the above and then some!! I wanted to simplify things for all the Beauties out there who don’t know where to start with makeup and truly want to get better at it. BTW…while it’s an ebook, it actually functions a bit like a makeup course.
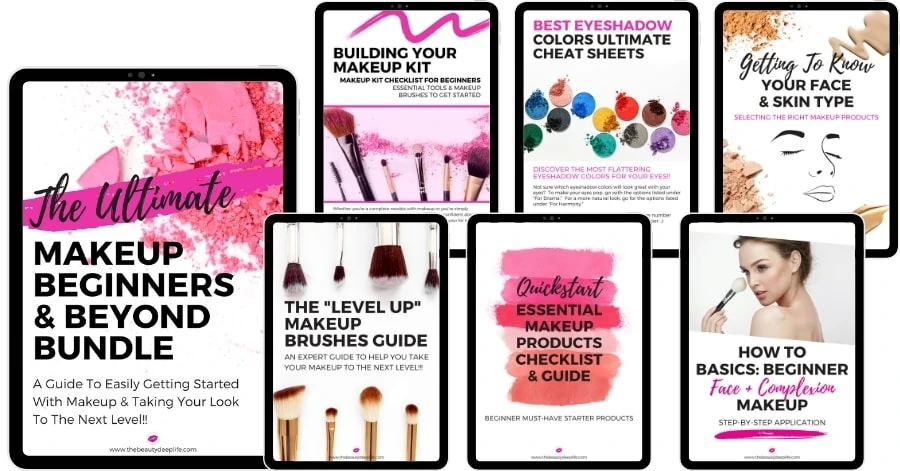
If you’re ready to step into the world of makeup, improve your looks, and learn how to upgrade your makeup skills, click here to learn more about it!
Beauties, do you have any all-time favorite tips, tricks, or hacks for makeup beginners? Feel free to share them below!
